
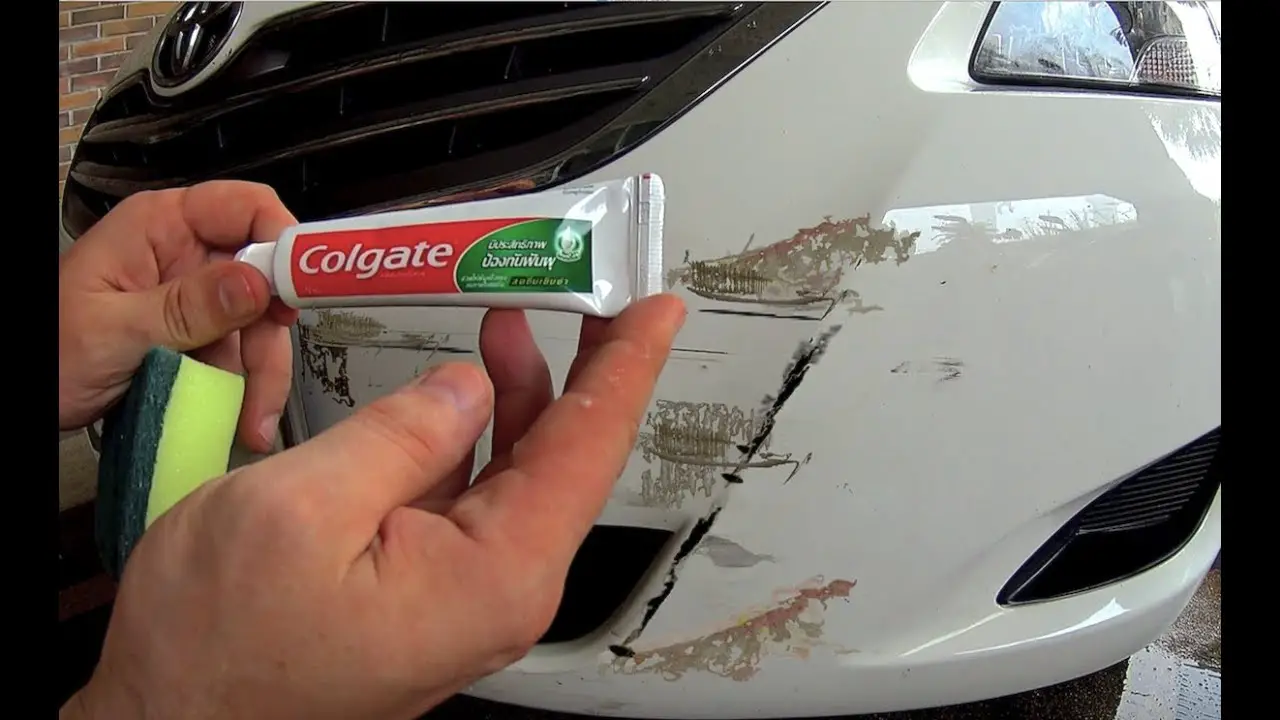
To cover car scratches, start by cleaning the affected area and applying a touch-up paint matched to your car’s color. Then, use fine-grit sandpaper to feather the edges of the scratch, making it blend with the surrounding surface.
Finally, apply a clear coat to protect the repaired area. By following these steps, you can effectively cover car scratches and restore the appearance of your vehicle. Keep reading to learn more about the process in detail. Car scratches can be a source of frustration for vehicle owners, but fortunately, there are solutions available to address this issue.
Whether your car has minor scratches or deeper ones that require more attention, knowing how to cover car scratches can save you time and money. This article will provide you with step-by-step instructions on how to effectively cover car scratches to restore your vehicle’s appearance. From cleaning the affected area to applying touch-up paint and clear coat, these simple yet well-executed tasks can make a significant difference. So, if you’re ready to tackle those pesky scratches, let’s dive into the process and give your car a fresh look.
Read: Can I Use a Car Cover Everyday
Preparing Your Car For Scratch Repair
Get your car looking as good as new with these simple tips for covering up those annoying scratches. From touch-up paint to DIY repair kits, we’ve got you covered when it comes to restoring your car’s beautiful finish.
To ensure a successful car scratch repair, it’s important to properly prepare the affected area. This involves cleaning the surface, protecting the surrounding areas with masking tape, lightly sanding the scratch, and applying primer before proceeding with the actual repair.
Follow the steps below to prepare your car for scratch repair:
Cleaning The Affected Area:
- Begin by washing the scratched area with mild soap and water to remove any dirt, dust, or debris.
- Use a microfiber cloth or sponge to gently scrub the surface, making sure to be thorough but not too abrasive.
- Rinse the area with clean water and pat it dry using a soft, lint-free cloth.
- Allow the surface to air dry completely before moving on to the next step.
Using Masking Tape To Protect Surrounding Areas:
- Apply masking tape around the scratch, creating a border that extends beyond the immediate affected area.
- Make sure the tape adheres firmly to the surface, ensuring it covers any adjacent panels or sections that could accidentally be damaged during the repair process.
- This precautionary measure will help protect the car’s paint job and ensure that the focus remains solely on the scratched area.
Sanding The Scratch Lightly:
- Use fine-grit sandpaper (around 1200 to 1500 grit) to lightly sand the scratch in a back-and-forth motion.
- Be gentle and maintain a light touch to avoid causing further damage to the surrounding areas.
- The goal is to create a smooth surface by removing any rough edges or imperfections without sanding too deeply into the paint layer.
Applying Primer:
- Before applying any touch-up paint, it’s crucial to use a suitable automotive primer to promote better paint adhesion and improve the overall finish.
- Shake the primer spray can well and hold it about 6-8 inches away from the scratch.
- Apply the primer in thin, even coats, using a sweeping motion.
- Allow the primer to dry completely according to the manufacturer’s instructions before you proceed with the actual scratch repair.
Remember, proper preparation is key to achieving satisfying results when repairing car scratches. Follow these steps diligently, and you’ll be well on your way to restoring your car’s appearance.
Repairing Minor Scratches With Touch-Up Paint
Learn how to effortlessly cover minor scratches on your car with touch-up paint. This simple technique will have your car looking fresh and new in no time.
How To Cover Car Scratches:
Scratches on your car can be unsightly, but the good news is that minor scratches can be easily repaired using touch-up paint. This method is cost-effective and can restore your car’s appearance without breaking the bank. In this section, we will guide you through the process of repairing minor scratches with touch-up paint, covering important steps such as choosing the right paint, applying it correctly, blending it with the surrounding area, and applying clear coat for a seamless finish.
Choosing The Right Touch-Up Paint:
When it comes to choosing the right touch-up paint, it’s crucial to match the color of your car accurately. Follow these steps to ensure you select the correct paint:
- Identify your car’s paint code: The paint code is usually located on the driver’s side door jamb or inside the glove box. It consists of a combination of letters and numbers.
- Purchase original manufacturer touch-up paint: Look for touch-up paint that matches your car’s make, model, and paint code. Original manufacturer paint ensures the best color match and quality.
Applying The Paint:
Applying touch-up paint requires precision and care. Follow these steps to achieve the best results:
- Clean the scratched area: Use soap and water to thoroughly clean the scratched area, removing any dirt or debris.
- Prepare the paint: Shake the touch-up paint pen or bottle as per the manufacturer’s instructions to ensure the paint is well-mixed.
- Apply thin layers: Using the included applicator brush or pen, apply thin layers of paint to the scratches. Start with a small amount and build up as needed, allowing each layer to dry before applying the next.
- Avoid excess paint: Be careful not to overload the scratches with too much paint, as it can result in an uneven finish.
Blending The Paint With The Surrounding Area:
Blending the touch-up paint with the surrounding area is crucial to achieve a seamless repair. Follow these tips for effective blending:
- Use fine-grit sandpaper: Gently sand the painted area, taking care not to damage the surrounding paint. This helps to level the repaired surface.
- Polish for a smooth finish: Apply a polishing compound to the repaired area and surrounding paint, buffing it in circular motions with a clean cloth. This helps to blend the repaired and original paint together.
Applying Clear Coat:
To protect the repaired area and ensure a long-lasting finish, applying clear coat is essential. Here’s how to do it effectively:
- Wait for the paint to dry: Allow the touch-up paint to dry completely before applying clear coat. Follow the manufacturer’s recommended drying time.
- Apply in thin layers: Use a clear coat specific to touch-up paint and apply it in thin, even layers. Allow each layer to dry before applying the next.
- Buff for a smooth finish: Once the clear coat is dry, gently buff the entire repaired area and surrounding paint to achieve a smooth and glossy finish.
By following these steps, you can effectively repair minor scratches on your car using touch-up paint. Remember to take your time, be patient, and use good lighting for accurate results. With a little effort, your car will look as good as new without visible scratches.
Fixing Deeper Scratches With A Repair Kit
Repair deeper car scratches easily with a reliable repair kit. Cover up unsightly marks and restore your vehicle’s appearance with professional results. Follow the simple steps provided to achieve a flawless finish.
Scratches on your car can be a real eyesore, but fear not! With a reliable scratch repair kit and some patience, you can easily fix those deeper scratches on your own. Here’s a step-by-step guide to help you get your car looking good as new:
Selecting A Suitable Scratch Repair Kit
When it comes to choosing a scratch repair kit, there are a few factors to consider. Here are some key points to keep in mind:
- Check the compatibility: Ensure that the repair kit is suitable for the type of paint your car has.
- Assess the scratch severity: Different repair kits cater to various scratch depths, from shallow to deep scratches. Pick one that is specifically designed for deeper scratches.
- Read product reviews: Before making your purchase, take the time to read customer reviews and ratings. This will give you insights into the effectiveness and quality of the repair kit.
Preparing The Scratch
Before starting the repair process, it’s crucial to properly prepare the scratch. Here’s what you need to do:
- Clean the area: Thoroughly clean the scratched area using a car wash soap and water. This will remove any dirt or debris that might interfere with the repair process.
- Dry the area: Allow the cleaned area to dry completely before moving forward. A clean and dry surface will ensure better adhesion of the repair compound.
Filling The Scratch With The Repair Compound
Now it’s time to fill the scratch with the repair compound. Follow these steps:
- Apply the compound: Using an applicator or brush provided in the repair kit, apply a small amount of the repair compound directly onto the scratch.
- Fill the scratch: Gently fill the scratch with the compound, ensuring it covers the entire damaged area. Be careful not to overfill.
- Level the compound: Use a flat edge (such as a plastic card) to level the compound with the surrounding paint. This will ensure a smooth and even finish.
Sanding And Buffing The Repaired Area
To achieve a seamless result, sanding and buffing are essential. Here’s what you need to do:
- Wait for the compound to dry: Refer to the instructions on the repair kit to determine the drying time needed for the compound.
- Sand the area: Using fine-grit sandpaper, gently sand the repaired area in a circular motion. This will help level the compound with the surrounding paint.
- Buff the area: Once the desired smoothness is achieved, use a polishing compound and a soft cloth to buff the repaired area. This will bring back the shine and blend the repaired spot with the rest of the car’s surface.
By following these steps and using a suitable scratch repair kit, you’ll be able to fix those deeper car scratches with ease. Remember, take your time and exercise caution throughout the process for the best results. Happy repairing!
Seeking Professional Help For Deep Scratches
Need professional assistance for covering deep scratches on your car? Discover effective solutions to hide car scratches with the help of experts in the field.
Knowing When To Seek Professional Assistance
If your car has deep scratches that are beyond the scope of DIY repair, it may be time to consider seeking professional help. Here are some indicators that can help you determine if professional assistance is necessary:
- The scratch extends beyond the clear coat: If the scratch has penetrated the clear coat and reached the base layer of paint, it is considered a deep scratch. These types of scratches are more difficult to fix and usually require professional expertise.
- The scratch is large or covers a significant area: If the scratch is extensive, covering a large portion of the car’s surface, it may be best to let professionals handle the repair. They have the necessary tools and skills to restore the affected area effectively.
- You lack the experience or confidence to fix the scratch yourself: DIY repairs can be challenging, especially for deep scratches. If you feel unsure about your abilities or lack experience in car paint repair, it’s better to rely on professionals who have the expertise to tackle the job.
Researching And Selecting A Reputable Repair Shop
Once you’ve decided to seek professional help, it’s crucial to find a reputable repair shop that can provide quality service. Here are some steps to consider during the research and selection process:
- Seek recommendations: Ask friends, family, or acquaintances for recommendations on trustworthy repair shops. Word-of-mouth referrals can help you narrow down your options and find reliable professionals.
- Check online reviews: Look for online reviews or testimonials from previous customers. These can provide insights into the reputation and quality of service of different repair shops. Pay attention to both positive and negative reviews to get a balanced perspective.
- Verify certification and experience: Ensure that the repair shop you’re considering has proper certification and experienced technicians. This will give you peace of mind knowing that your car will be handled by skilled professionals.
Understanding The Repair Process
Before committing to a repair shop, it’s essential to have a basic understanding of the repair process. Here are some key points to keep in mind:
- Assessment: The repair technician will assess the damage and determine the appropriate repair method for your car’s specific scratches. They may use specialized tools and equipment to evaluate the extent of the damage.
- Preparing the surface: The damaged area will be prepared for repair by cleaning it thoroughly and removing any debris or contaminants. This ensures that the new paint adheres properly and provides a seamless finish.
- Repair techniques: Depending on the nature of the deep scratches, repair techniques may vary. The technician may use methods like sanding, filling, or blending to restore the affected area. They will match the paint color to ensure a seamless repair.
Evaluating The Final Results
Once the repairs are complete, it’s crucial to evaluate the final results to ensure your satisfaction. Here are some steps to follow:
- Inspect the repaired area under different lighting conditions: Examine the repaired area under natural and artificial light to identify any imperfections or color discrepancies. This will help you determine if the repair is seamless and matches the rest of the car’s paint.
- Test for smoothness: Run your hand gently over the repaired area to check for any roughness or unevenness. A smooth and seamless finish is a sign of quality workmanship.
- Assess overall appearance: Step back and take a close look at the repaired area from different angles. Ensure that the color, texture, and gloss match the surrounding paint. If any issues are apparent, communicate them promptly to the repair shop for further adjustments.
Remember, seeking professional help for deep car scratches can ensure a successful repair and maintain the value and appearance of your vehicle. By researching and selecting a reputable repair shop, understanding the repair process, and evaluating the final results, you can make an informed decision and achieve the best possible outcome.
Preventing Future Scratches
Covering car scratches is essential for preventing future damage. With easy-to-use scratch repair kits and touch-up paints, you can keep your vehicle looking flawless and protect its value. Take care of those annoying scratches with these simple tips and keep your car looking its best.
Regularly washing and waxing your car:
- Washing your car at least once a month helps remove dirt and debris that can cause scratches over time.
- Use a pH-balanced car wash soap and a soft microfiber cloth or sponge to avoid scratching the surface.
- After washing, apply a coat of wax to create a protective layer that can help prevent future scratches.
Park in shaded areas or use a car cover:
- Parking under trees or in shaded areas can protect your car from direct sunlight, which can fade the paint and make it more prone to scratches.
- If shaded parking is not available, consider using a car cover that fits your vehicle properly. This will shield it from dust, bird droppings, and other environmental factors that can cause scratches.
Using protective film or wraps:
- Applying a clear protective film, such as paint protection film (PPF), on vulnerable areas of your car can act as a barrier against scratches.
- PPF is a transparent, self-healing film that can absorb impacts and prevent scratches from reaching the paint. Consider installing it on areas like the hood, front bumper, and side mirrors.
- Alternatively, vinyl wraps provide an extra layer of protection while also allowing you to change the appearance of your car. These wraps are available in various colors and finishes.
Being mindful of your surroundings while driving:
- Avoid parking too close to other vehicles or obstacles, as they can inadvertently cause scratches when you open your car door.
- When driving, be cautious of low-hanging branches, construction zones, and rough roads that can cause debris to fly up and hit your car.
- Additionally, maintain a safe distance from vehicles in front of you to minimize the risk of rocks or debris being kicked up by their tires and hitting your car.
Remember, preventing future scratches involves proactive measures such as regular washing and waxing, parking in shaded areas or using a car cover, using protective film or wraps, and being mindful of your surroundings while driving. By following these practices, you can help keep your car looking pristine and protect it from unsightly scratches.
Read: Can You Wash Car Cover in Washing Machine
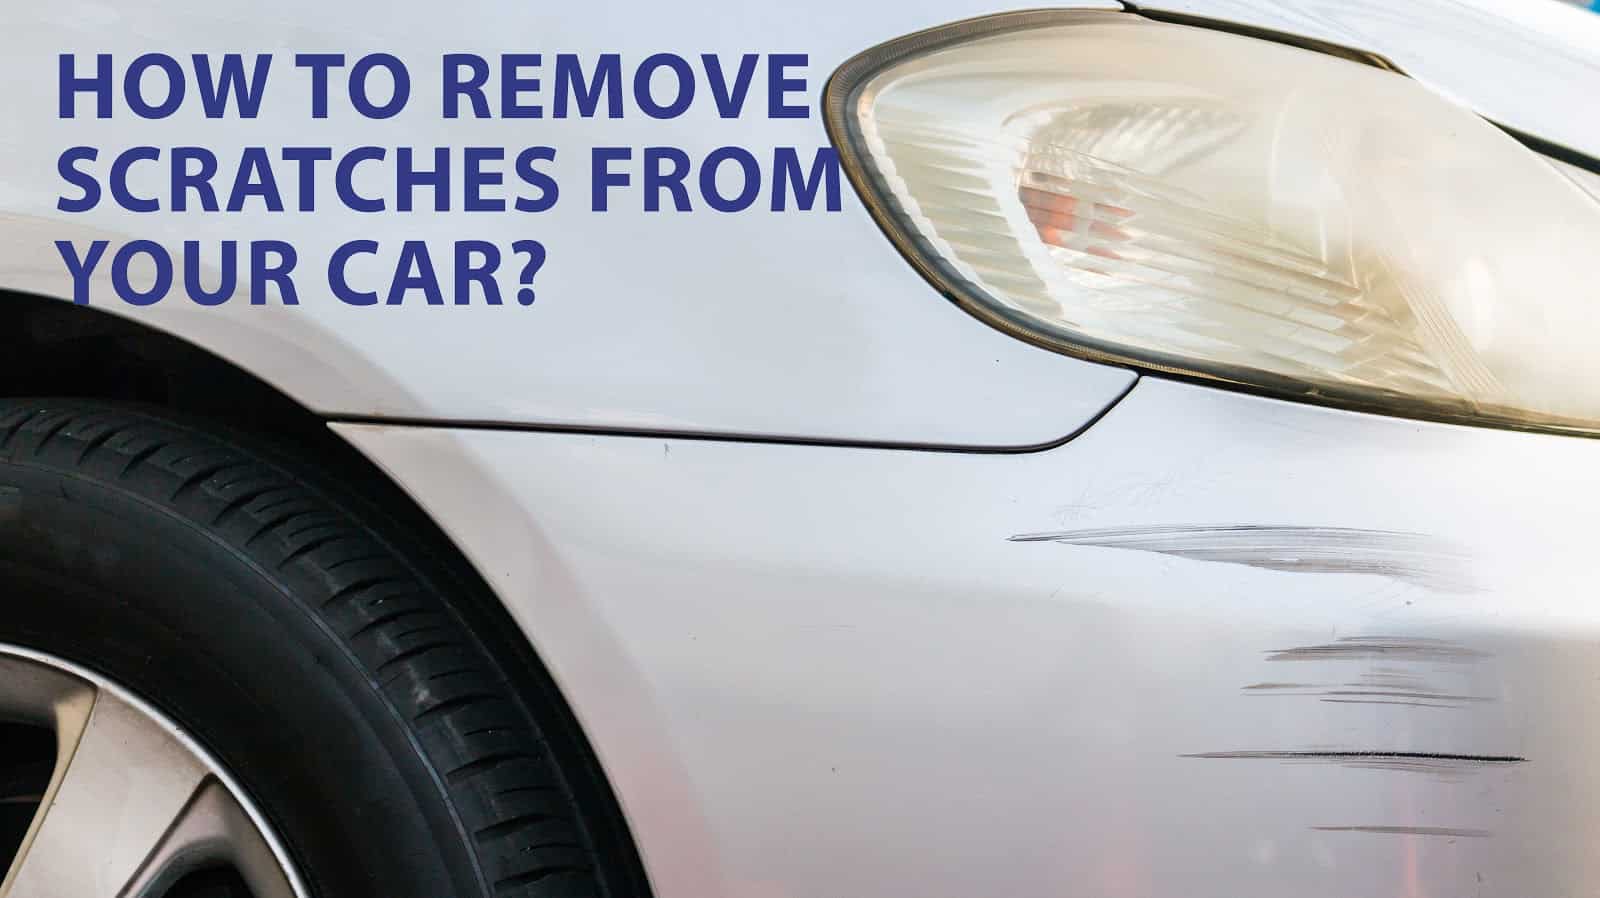
Conclusion And Final Tips
Discover the best ways to cover car scratches with these final tips. Learn effective techniques to hide imperfections and restore your vehicle’s appearance effortlessly. Follow these recommendations to achieve a flawless finish.
Covering car scratches is an essential skill for any car owner, as it helps maintain the overall appearance and value of your vehicle. In this section, we will recap the steps to cover car scratches, provide tips for long-lasting results, and share additional resources for scratch repair and prevention.
Recap Of The Steps To Cover Car Scratches:
- Step 1: Clean the scratched area: Use a mild soap and water to thoroughly clean the scratched area. This ensures that the surface is free from dirt and debris, allowing for better adhesion of the touch-up paint or scratch repair product.
- Step 2: Choose the right product: Depending on the depth and severity of the scratch, you can choose between touch-up paint, scratch repair pens, or DIY scratch repair kits. Consider the type of paint your car has and match the color as closely as possible.
- Step 3: Prepare the scratched surface: Use fine-grit sandpaper or a rubbing compound to gently smooth out the edges of the scratch. This helps create a smooth surface for the touch-up paint to adhere to.
- Step 4: Apply the touch-up paint: Carefully apply the touch-up paint using small, light brush strokes. Start from the center of the scratch and work your way towards the edges. Allow each layer to dry before applying the next one.
- Step 5: Blend the paint: Once the touch-up paint has dried, use a rubbing compound or polish to blend the repaired area with the surrounding paint. This helps minimize the appearance of the scratch and ensures a seamless finish.
Maintaining Your Car’S Appearance For Long-Lasting Results:
- Regular cleaning: Keeping your car clean not only enhances its appearance but also helps prevent scratches. Regularly wash your car and use a microfiber cloth or soft sponge to avoid scratching the paint.
- Park carefully: Choose parking spaces wisely and avoid areas with high foot traffic or tight spots. Parking further away reduces the risk of accidental scratches from nearby cars or objects.
- Wax your car: Applying a protective layer of wax can help shield your car’s paint from scratches and environmental contaminants. Consider waxing your car at least twice a year for optimal protection.
- Use paint protection film: For added protection, consider investing in paint protection film or clear vinyl wrap for high impact areas, such as the front bumper, hood, and door edges. These films act as a barrier against scratches caused by rocks, debris, or minor collisions.
Additional Resources For Scratch Repair And Prevention:
- Auto detailing services: If you’re not confident in your own DIY skills or the scratch is too severe, consider seeking professional help from auto detailing specialists. They have the expertise and tools to repair scratches effectively.
- Online forums and communities: Joining online automotive forums or groups can provide a wealth of information on scratch repair techniques and prevention tips. Participate in discussions and learn from experienced car enthusiasts.
- Manufacturer’s recommendations: Check your car’s owner’s manual or visit the manufacturer’s website for specific guidelines on scratch repair and recommended products. They may also provide insights into touch-up paint availability and proper application techniques.
Remember, addressing car scratches promptly not only improves your car’s appearance but also prevents further damage and rusting. By following the steps we discussed and maintaining your car’s exterior diligently, you can enjoy a sleek and scratch-free ride for years to come.
Frequently Asked Questions Of How To Cover Car Scratches
Is There A Way To Cover Scratches On A Car?
Yes, there are ways to cover scratches on a car. You can try using touch-up paint or a scratch repair kit to conceal the scratches. Another option is to use a scratch remover product to buff out the scratches. If the scratches are deep or extensive, it may be best to have a professional repair them.
Remember to clean the area before applying any products and follow the instructions carefully for the best results. Regular inspection and maintenance can help prevent scratches, such as parking in designated spots and avoiding contact with rough surfaces. Proper care and protection can also help maintain the car’s appearance and reduce the chances of getting more scratches in the future.
How Do You Cover Small Deep Scratches On A Car?
To cover small deep scratches on a car, follow these steps: clean the area, apply touch-up paint using a small brush, and let it dry. Then, use fine-grit sandpaper to smooth the surface, and finish with a polishing compound to restore shine.
Remember to blend the touch-up paint with the surrounding area for a seamless finish. Additionally, you can use a scratch repair kit or consult a professional if the scratches are extensive. Taking care of small scratches promptly helps prevent further damage and maintains the car’s appearance.
Ensure you match the paint color correctly and conduct the process in a well-ventilated area. Regular waxing and maintaining the car’s cleanliness can also prevent scratches. Keep in mind that for deep or extensive damage, it’s best to seek professional help for optimal results.
How Do You Touch Up Scratches On Car Paint?
To touch up scratches on car paint, start by cleaning the affected area with soap and water. Next, sand the scratches lightly using a fine-grit sandpaper. After sanding, wipe away any dust and apply a primer that matches your car’s paint color.
Once the primer is dry, use a small brush to carefully apply touch-up paint to the scratched area. Allow the paint to dry completely, and then gently buff the area using a mild abrasive compound. Finally, apply a coat of clear coat to protect the paint and give it a glossy finish.
How Can I Remove Scratches From My Car?
To remove scratches from your car, start by cleaning the affected area with soap and water. Next, apply a scratch removal compound using a soft cloth and buff the area in a circular motion. Finally, rinse and inspect the area, repeating the process if necessary.
Read: How to Use Car Cover Lock
Conclusion
Covering car scratches is a simple yet effective way to maintain the appearance and value of your vehicle. By following the steps outlined in this blog post, you can easily address and hide unsightly scratches without breaking the bank. Remember to start by thoroughly cleaning the area and removing any dirt or debris.
Next, apply a touch-up paint that matches your car’s color, carefully filling in the scratch. For deeper scratches, consider using a scratch repair kit or seeking professional help. Finally, finish off the job with a clear coat to blend the touch-up paint with the rest of the car’s surface.
With these techniques, you can restore your car’s exterior to its former glory and protect it from further damage. Don’t let scratches bring down the appearance of your beloved vehicle – take action and cover them up today.

Leave a Reply